


File uploads feel like a solved problem. You’ve seen the tutorials. You install Multer, wire it up to an Express route, and you’re done in ten minutes. Ship it.
Then production happens.
A user uploads a 200MB video over a spotty mobile connection. The request drops halfway through and they have to start over — or worse, your server silently eats the incomplete file and returns a 200. Another user uploads a batch of 50 product images and your CPU pegs at 100% while Sharp resizes them synchronously in the request handler. Your Node process runs out of memory and crashes. A third user uploads a carefully crafted file that slips past your extension check. You find out a week later.
None of this shows up in the ten-minute tutorial.
This post walks through what it actually takes to build production-grade file uploads in TypeScript with Express — and then shows how Uploadista handles that complexity so you don’t have to.
The naive approach
Here’s what most TypeScript projects start with:
npm install express multer
npm install -D @types/express @types/multer typescript ts-node
import express from "express";
import multer from "multer";
import path from "node:path";
const app = express();
const storage = multer.diskStorage({
destination: "./uploads",
filename: (_req, file, cb) => {
const uniqueName = `${Date.now()}-${file.originalname}`;
cb(null, uniqueName);
},
});
const upload = multer({ storage });
app.post("/upload", upload.single("file"), (req, res) => {
if (!req.file) {
return res.status(400).json({ error: "No file uploaded" });
}
res.json({ filename: req.file.filename, path: req.file.path });
});
app.listen(3000, () => console.log("Server running on port 3000"));This works. For small files, from a desktop browser, over a fast connection, with no processing requirements, to a filesystem on a single server.
Start adding any real requirements and the cracks appear fast.
What the tutorials skip
Resumable uploads
The request-per-upload model has a fatal flaw: if the connection drops, you start over. For a 500KB avatar photo this is fine. For a 2GB video, it’s a dealbreaker.
Resumable uploads — where a client can pause and continue from where it left off — require chunked transfers. You need to accept partial uploads, track which chunks you’ve received, store state between requests, and reassemble the file once all chunks arrive. You also need a protocol for the client to query upload progress and resume from an offset.
Multer doesn’t do this. You’d need to implement it on top, likely following something like the tus protocol, which involves a fair amount of state management and HTTP spec reading.
Accurate progress tracking
Even for uploads that don’t fail, users expect to see progress. The progress event on XMLHttpRequest or the newer Fetch API streams will tell you how many bytes have been sent from the client side. But that’s not the same as how many bytes your server has received, processed, or stored.
If you’re processing the file (resizing an image, transcoding a video) after receiving it, the progress bar should reflect that too. Otherwise, it jumps to 100% and then users wait with a frozen UI while your server does work.
File processing without blocking your server
Resize an image synchronously in an Express request handler and you block the Node.js event loop while Sharp does its thing. Works fine for one request. Falls apart under load.
The standard fix is a job queue: BullMQ or similar to offload processing to background workers. But now you need Redis, a worker process, retry logic, and some way to tell the client when processing is done.
npm install bullmq sharp
npm install -D @types/sharp
import { Queue, Worker } from "bullmq";
import sharp from "sharp";
const imageQueue = new Queue("image-processing", {
connection: { host: "localhost", port: 6379 },
});
// Add to queue after upload
await imageQueue.add("resize", {
inputPath: req.file.path,
outputPath: `./uploads/resized-${req.file.filename}`,
width: 1200,
height: 800,
});
// In a separate worker process
const worker = new Worker(
"image-processing",
async (job) => {
await sharp(job.data.inputPath)
.resize(job.data.width, job.data.height, { fit: "cover" })
.toFile(job.data.outputPath);
},
{ connection: { host: "localhost", port: 6379 } }
);This is fine, but you’ve just added Redis as a required dependency and now you have two processes to deploy, monitor, and keep in sync. And you’re still missing resumable uploads and real-time progress.
Error recovery
What happens when your processing job fails halfway through? You have an orphaned input file in S3, a partial output, and a job stuck in an error state. Your user got a 200 response when the upload succeeded, but they never got a processed file.
Do you retry just the processing? Do you re-run from the beginning? How do you communicate the failure back to the client? If you retry, do you do it immediately or with backoff? What happens if the same file fails three times?
These are not edge cases. They are the normal state of distributed systems.
Storing files beyond a single server
Multer’s disk storage writes to the local filesystem. That’s fine for development, but the moment you have two instances of your server (or restart a container), the files are gone or inaccessible.
You need cloud storage. You add the AWS SDK, configure S3 credentials, switch Multer to memory storage (buffer the whole file in RAM before upload — bad for large files), or stream directly to S3 using multer-s3. Now you’re adding another layer of credentials, IAM policies, and failure modes.
File type validation that actually works
Checking file.mimetype from Multer is nearly useless for security. The MIME type comes from the client and can be spoofed trivially. You need to inspect the actual file bytes — magic numbers — to determine what kind of file was really uploaded.
import { fileTypeFromBuffer } from "file-type";

// After receiving the file in memory
const fileBuffer = req.file.buffer;
const detectedType = await fileTypeFromBuffer(fileBuffer);

if (!detectedType || !["image/jpeg", "image/png", "image/webp"].includes(detectedType.mime)) {
  return res.status(400).json({ error: "Invalid file type" });
}
Now you’re buffering the entire file in memory just to check its type, which puts a ceiling on the file sizes you can safely handle.
WebSocket progress for multi-step pipelines
When processing involves multiple steps (upload → virus scan → resize → convert → store → notify), users want to see where they are in the pipeline. Not just “50% uploaded” but “step 3 of 5: resizing.” This requires real-time server-to-client communication — WebSockets — and state that survives between the HTTP upload request and the WebSocket connection.
By this point, you have: Express, Multer, Sharp, BullMQ, Redis, the AWS SDK, file-type, and a WebSocket library. You’ve written custom resumable upload logic, a job queue system, multi-step error recovery, and a real-time notification layer. Your upload “feature” is now a small infrastructure project.
What Uploadista does differently
Uploadista is built on the premise that all of this complexity should be handled by the framework, not re-implemented by every team that needs to handle files.
Here’s how the same Express server looks with the @uploadista/adapters-express package:
npm install express @uploadista/server @uploadista/adapters-express \
  @uploadista/data-store-filesystem @uploadista/kv-store-filesystem \
  @uploadista/flow-images-sharp ws cors
import { createServer } from "node:http";
import { dirname, join } from "node:path";
import { fileURLToPath } from "node:url";
import { createExpressUploadistaAdapter } from "@uploadista/adapters-express";
import { createFileStore } from "@uploadista/data-store-filesystem";
import { fileKvStore } from "@uploadista/kv-store-filesystem";
import { imagePlugin } from "@uploadista/flow-images-sharp";
import { createFlow, createInputNode, createStorageNode } from "@uploadista/core";
import cors from "cors";
import express from "express";
import { WebSocketServer } from "ws";
const __filename = fileURLToPath(import.meta.url);
const __dirname = dirname(__filename);
async function startServer() {
const app = express();
const server = createServer(app);
app.use(cors());
app.use((req, res, next) => {
if (req.path.startsWith("/uploadista/")) return next();
express.json()(req, res, next);
});
// Storage: swap this for S3, GCS, or Azure in production
const dataStore = createFileStore({
directory: join(__dirname, "../uploads"),
deliveryUrl: "http://localhost:3000",
});
// KV store for upload session state
const kvStore = fileKvStore({
directory: join(__dirname, "../uploads"),
});
// Define a flow: input → resize → store
const flows = (_flowId: string) =>
createFlow({
flowId: "image-flow",
name: "Image Processing Flow",
nodes: {
input: createInputNode("input"),
output: createStorageNode("output"),
},
edges: [{ source: "input", target: "output" }],
});
// Create the adapter — this is the entire upload server
const uploadistaAdapter = await createExpressUploadistaAdapter({
kvStore,
dataStore,
flows,
plugins: [imagePlugin()],
});
app.get("/health", (_req, res) => res.json({ status: "OK" }));
// All upload endpoints handled here
app.all("/uploadista/api/*splat", uploadistaAdapter.handler);
// WebSocket for real-time progress
const wss = new WebSocketServer({ server });
wss.on("connection", uploadistaAdapter.websocketConnectionHandler);
server.listen(3000, () => {
console.log("🚀 Server running on http://localhost:3000");
console.log("📁 Upload endpoint: http://localhost:3000/uploadista/api/");
console.log("🔌 WebSocket endpoint: ws://localhost:3000/uploadista/ws/");
});
}
startServer();This is not a simplified demo. This is a complete server with resumable chunked uploads, real-time WebSocket progress, pluggable processing, and swappable storage — ready to run.
What you get out of the box
Resumable uploads. The tus protocol is implemented at the framework level. Clients can pause and resume from any offset. Broken connections pick up where they left off.
Real-time progress over WebSocket. Connect to ws://your-server/uploadista/ws/upload/:uploadId and receive progress events throughout the upload and processing pipeline. No polling, no custom WebSocket infrastructure.
Flow-based processing with typed pipelines. Processing steps are defined as nodes in a flow graph. Each node has typed inputs and outputs — if you wire an image node to a step expecting video, TypeScript catches it at compile time, not at 3 AM in production.
Pluggable storage backends. Swap createFileStore for s3Store, gcsStore, or azureStore without changing anything else. In production, pointing to your own S3 bucket is a one-line change:
import { s3Store } from "@uploadista/data-store-s3";

const dataStore = s3Store({
  deliveryUrl: process.env.S3_DELIVERY_URL,
  s3ClientConfig: {
    bucket: process.env.S3_BUCKET,
    region: process.env.AWS_REGION,
    credentials: {
      accessKeyId: process.env.AWS_ACCESS_KEY_ID!,
      secretAccessKey: process.env.AWS_SECRET_ACCESS_KEY!,
    },
  },
});
Production-grade KV stores. Switch from the filesystem store to Redis for multi-instance deployments:
import { redisKvStore } from "@uploadista/kv-store-redis";
import { createClient } from "@redis/client";

const redis = createClient({ url: process.env.REDIS_URL });
await redis.connect();
const kvStore = redisKvStore({ redis });
Multi-step pipelines with retry semantics. If step 3 of a 5-step flow fails, only step 3 reruns when you trigger a retry. No orphaned files. No manual cleanup. The framework tracks state across every node in the graph.
Security plugins. Add virus scanning to any flow with @uploadista/flow-security-clamscan. Magic-number-based file type validation is built in, not bolted on.
Going further: a real image processing flow
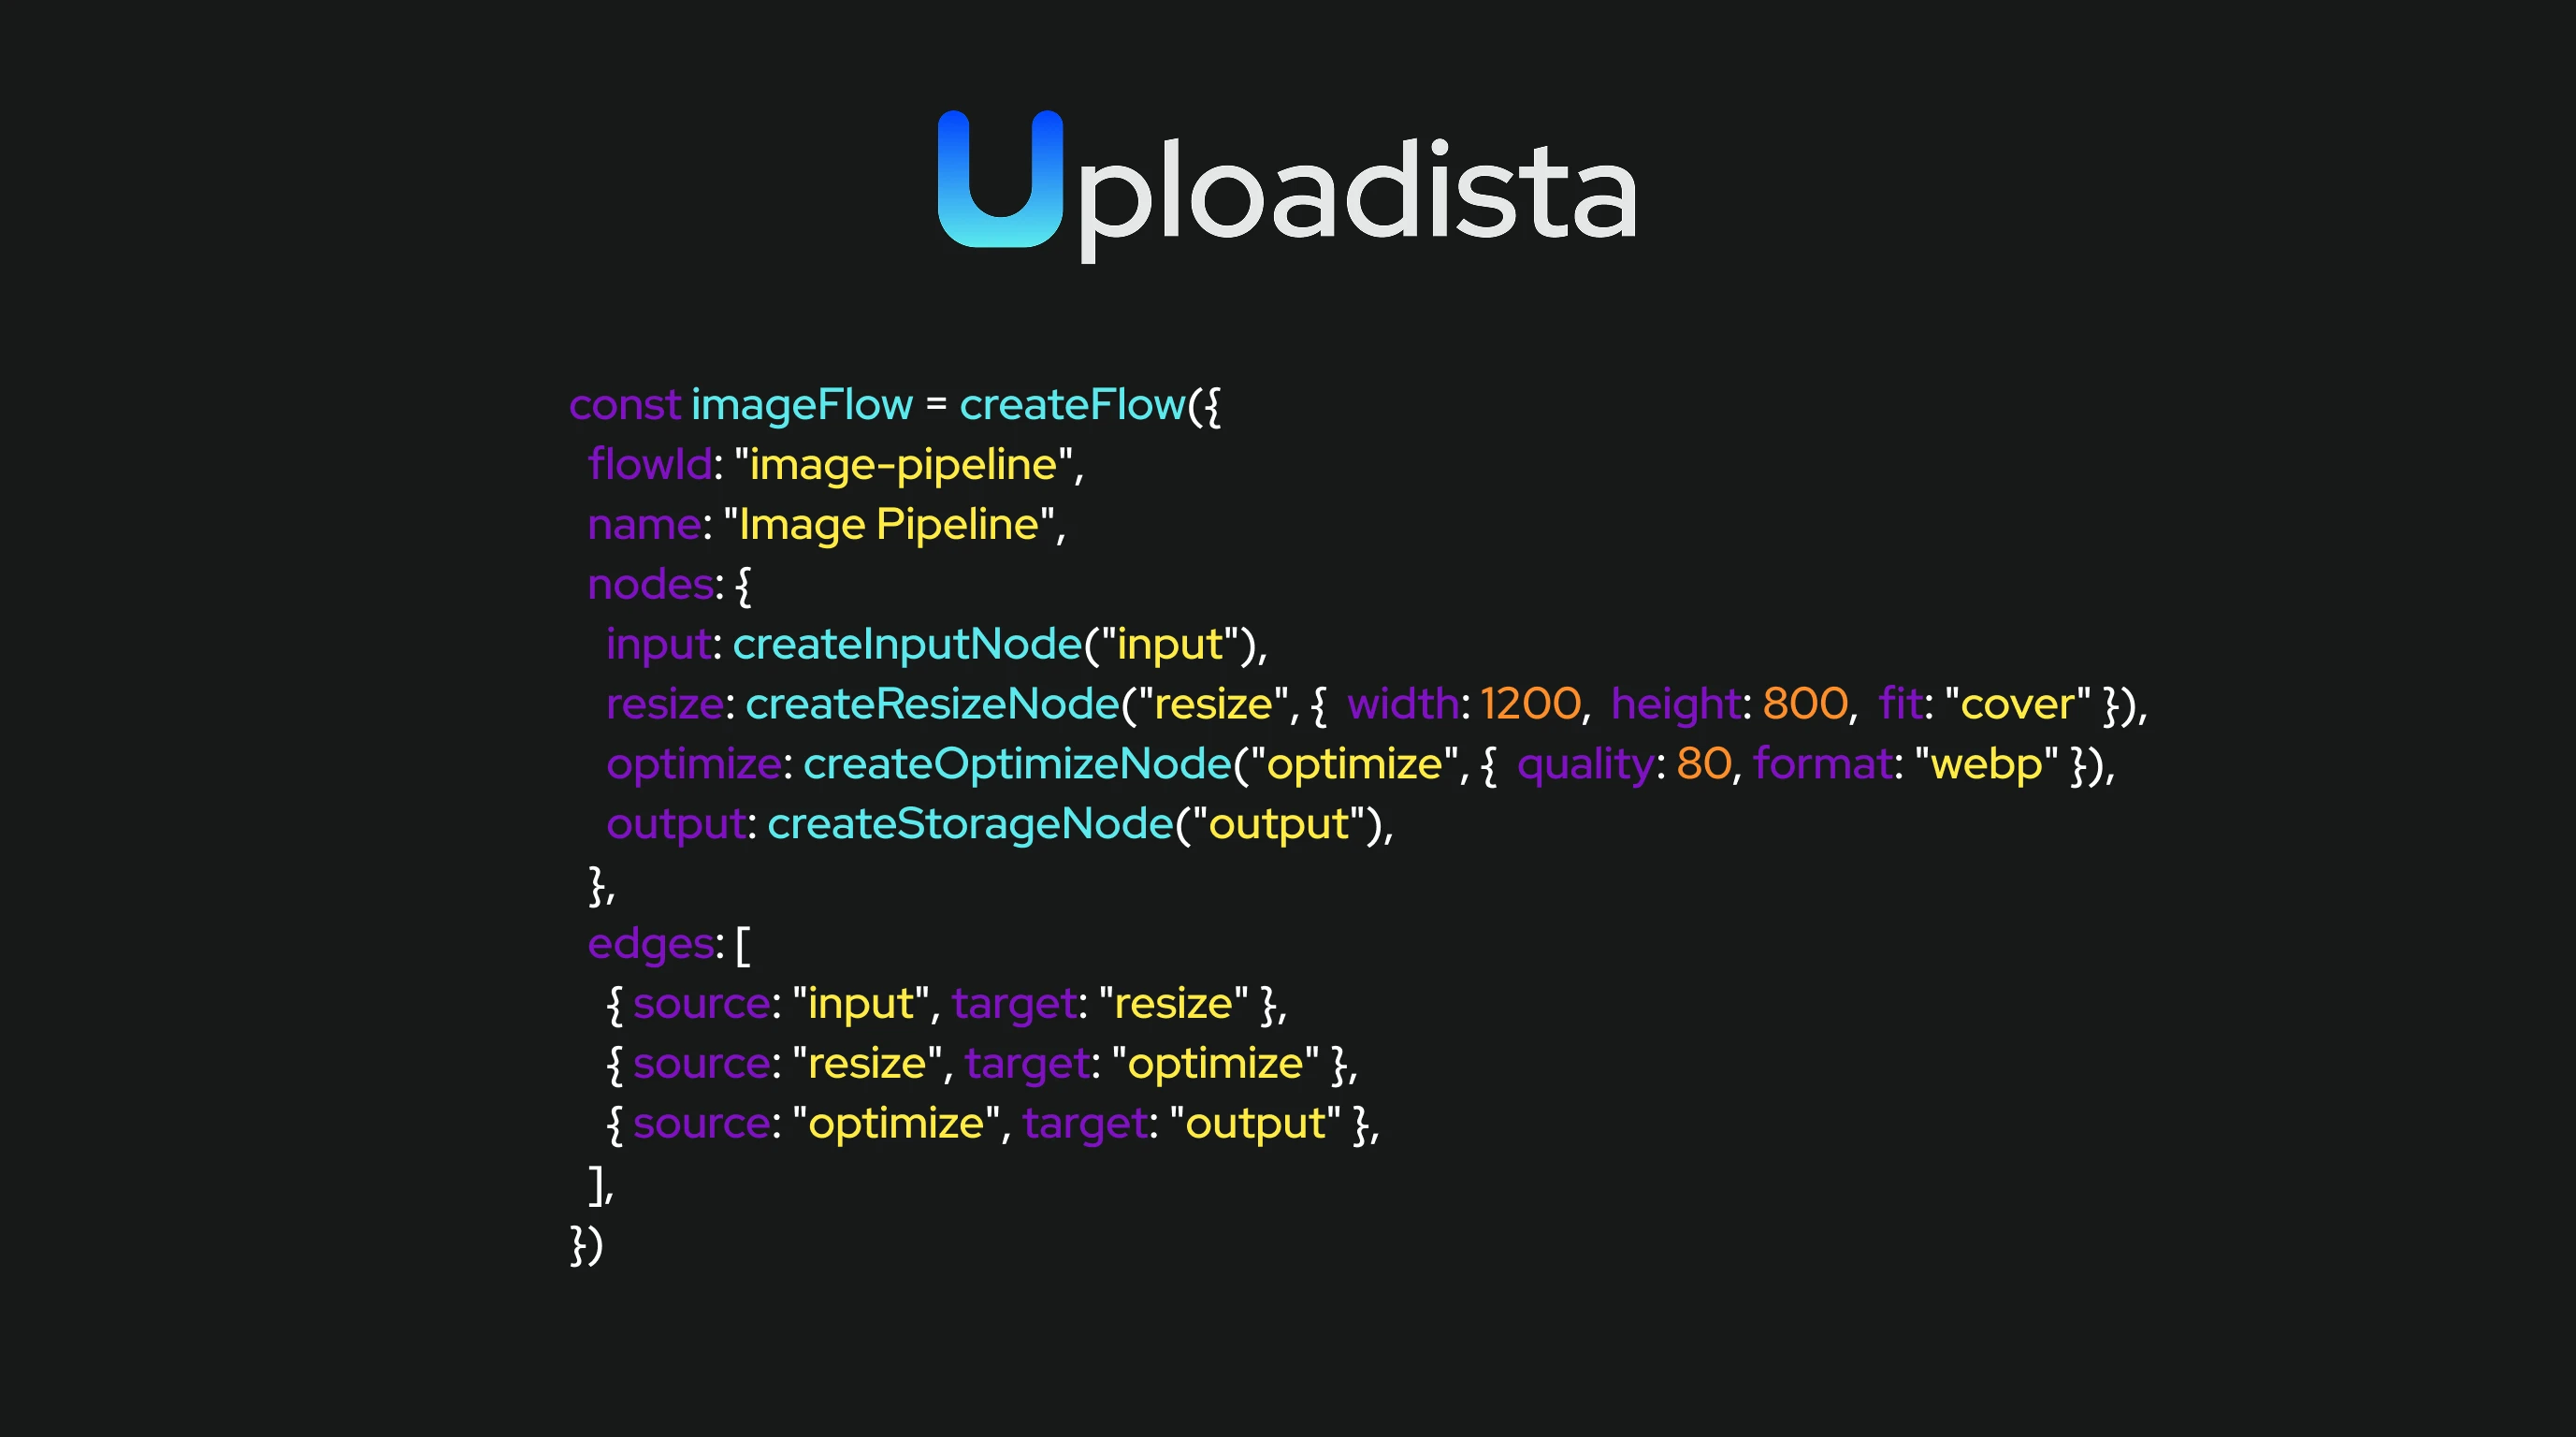
Here’s a more complete flow that covers what most image-heavy applications need — resize, optimize, and store in parallel formats:
import {
  createFlow,
  createInputNode,
  createStorageNode,
} from "@uploadista/core";
import {
  createResizeNode,
  createOptimizeNode,
} from "@uploadista/flow-images-nodes";

const imageFlow = createFlow({
  flowId: "image-pipeline",
  name: "Image Pipeline",
  nodes: {
    input: createInputNode("input"),
    resize: createResizeNode("resize", {
      width: 1200,
      height: 800,
      fit: "cover",
    }),
    optimize: createOptimizeNode("optimize", {
      quality: 80,
      format: "webp",
    }),
    output: createStorageNode("output"),
  },
  edges: [
    { source: "input", target: "resize" },
    { source: "resize", target: "optimize" },
    { source: "optimize", target: "output" },
  ],
});
Each edge is typed. The output of createResizeNode matches the expected input of createOptimizeNode. The compiler enforces the contract. You don’t find mismatches at runtime.
The same framework, any Node.js server
Express is just one option. The same adapter pattern works with Hono and Fastify if you prefer their ergonomics:
// Hono
import { createHonoUploadistaAdapter } from "@uploadista/adapters-hono";
const uploadistaAdapter = await createHonoUploadistaAdapter({ kvStore, dataStore, flows, plugins });

// Fastify
import { createFastifyUploadistaAdapter } from "@uploadista/adapters-fastify";
const uploadistaAdapter = await createFastifyUploadistaAdapter({ kvStore, dataStore, flows, plugins });
The configuration is identical. The underlying upload protocol and flow system are identical. Switching frameworks is a one-line change.
Try it
If you’re starting a new project, the quickest path to a production-ready upload server is:
mkdir my-upload-server && cd my-upload-server
npm init -y
npm install express @uploadista/server @uploadista/adapters-express \
  @uploadista/data-store-filesystem @uploadista/kv-store-filesystem \
  @uploadista/flow-images-sharp ws cors
Copy the server example above, run npx ts-node src/server.ts, and you have a running upload server with chunked resumable uploads, real-time WebSocket progress, and image processing.
The full documentation covers every storage backend, KV store option, processing plugin, and deployment pattern. The SDK is MIT-licensed on GitHub — read the source, contribute, or fork it.
And if you’re migrating an existing Multer setup, the process is straightforward: replace the upload route handler with uploadistaAdapter.handler, add the WebSocket server, and define your flows. Your existing storage and processing logic can move into flow nodes incrementally.
The hard parts of file uploads — resumability, progress tracking, pipeline orchestration, error recovery — are solved problems. You shouldn’t have to solve them again from scratch.
Denis is the founder and CEO of Uploadista. If you have questions about migrating from Multer or designing a file processing pipeline, reach out on GitHub or Twitter/X.